How to Repair a Leather Jacket: Fixes for Scuffs and Tears
.jpg)
Leather is known for its durability, but even the toughest pieces show wear from daily use, closet crowding, or rogue run-ins with a seatbelt buckle. A cracked seam or scratched finish doesn’t mean your leather jacket’s glory days are over, though—it just means it’s time for a little leather repair. With the right tools (like a leather repair kit, a seam ripper, and maybe some leather filler), many common fixes are doable at home.
If your leather jacket has sentimental value (or if the damage runs deep), check with a professional before going full DIY. Otherwise, keep reading to learn how to repair a leather jacket step by step.
What causes a damaged leather jacket?
Even the most iconic leather jacket or leather skirt isn’t immune to the effects of everyday wear (or even a little neglect). The usual suspects? Sunlight, moisture, friction, and time.
Prolonged sun exposure dries out the leather’s natural oils, leading to fading, cracking, and even peeling. A drizzly day can be just as brutal—when moisture seeps in and the jacket gets left untreated, it may become stiff or spotty. And don’t even get us started on harsh cleaning chemicals, which strip leather’s finish and speed up aging.
The potential for damage is why it pays to properly care for your leather jacket. Store the jacket away from direct sunlight and skip moisture-trapping plastic bags—instead, apply leather conditioner every few months to keep the material soft and hydrated. With the proper care, you’ll stretch your leather jacket’s lifespan and delay the need for serious leather repair.
Bonus tip: Invest in a good leather cleaner. Cleaning your leather jacket with a product designed for its finish (like genuine leather or faux leather) can prevent the buildup that leads to long-term damage.
Repairing a leather jacket in 4 steps
Fixing a leather jacket can bring the whole piece back to life. Whether you’re dealing with surface-level scratches or fading color, a few simple tools go a long way.
Materials needed
- Leather repair kit
- Leather cleaner
- Leather conditioner
- Leather filler
- Leather dye or color restorer
- Fine-grit sandpaper
- Soft cloth
- Cotton swabs
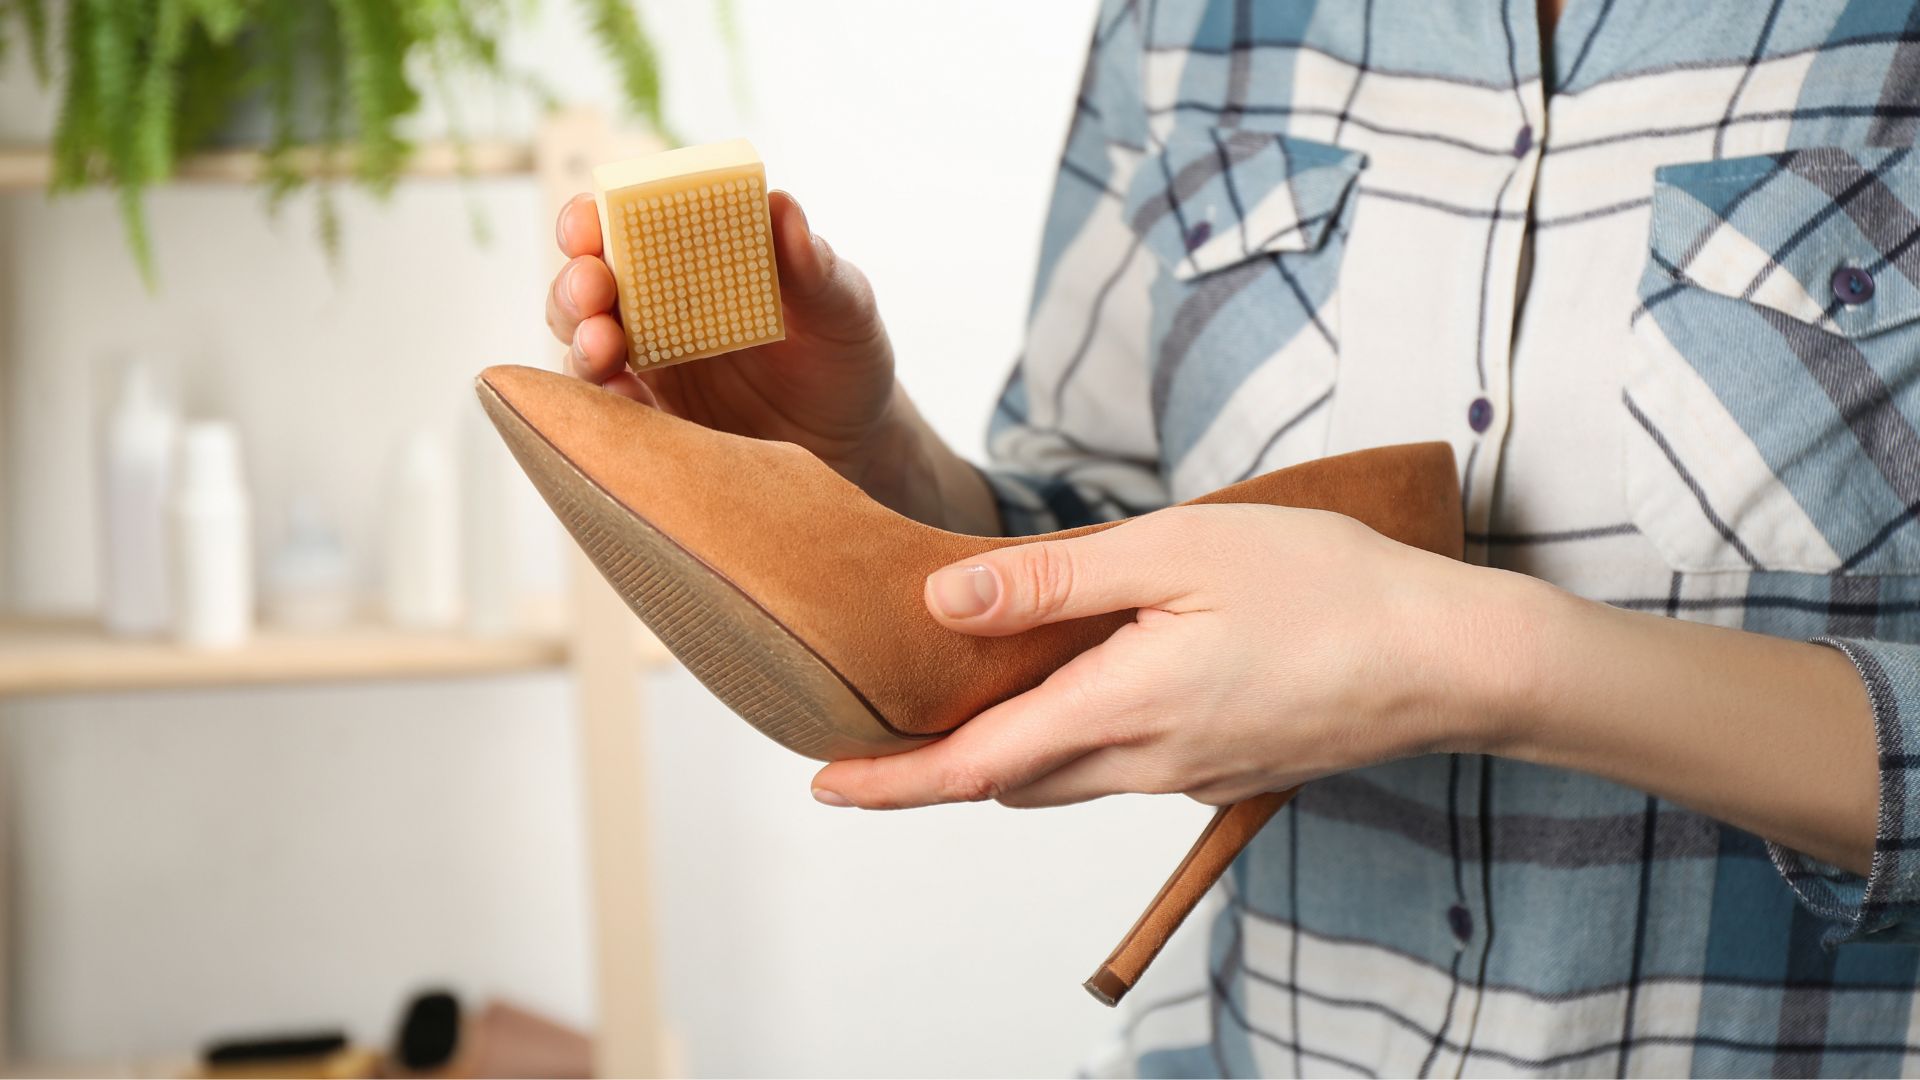
- Clean the affected area
Gently clean the damaged area of the leather jacket with a leather cleaner and a soft cloth. This step removes dirt and oils that may interfere with the repair process.
- Address light scratches and scuffs in the leather
For minor scratches and scuffs:
- Apply a small amount of leather conditioner to the area.
- Rub gently in a circular motion with a soft cloth.
- Allow the leather conditioner to absorb, then buff the area to restore the leather’s shine.
This method helps restore the leather’s natural oils and diminishes the appearance of minor damage.
- Repair deeper scratches in the leather
For more pronounced scratches:
- Clip off any loose threads around the scratch.
- Use a leather filler to fill in the scratch.
- Let the leather filler dry, then lightly sand the area with fine-grit sandpaper to smooth it.
- Apply a matching leather dye to blend the repair into the surrounding area.
This process helps fix deeper imperfections in the leather and restore the leather jacket’s uniform appearance.
- Restore fading and discoloration in the leather
To address areas where the color has faded:
- Apply a leather dye or color restorer that matches your jacket’s original color.
- Use a cotton swab or a soft cloth to evenly apply the product to the leather jacket.
- Let the leather dye or color restorer dry completely, then apply a leather conditioner to keep the leather supple.
{{inline-banner}}
Explore secondhand leather jackets on ThredUp
Fixing a leather jacket with a leather repair kit, patch, or leather filler can work wonders, but some damage just can’t be reversed. If your leather jacket is too damaged or faded to save, it might be time to let go.
Need to fill a jacket-sized hole in your wardrobe? ThredUp is the perfect place to thrift a new-to-you leather jacket. Our extensive selection of secondhand leather jackets includes vintage finds and everyday favorites, all at up to 90% off retail.
Explore high-quality leather pieces in every size, color, and style on ThredUp and give your wardrobe (and the planet) something to celebrate.
FAQs
Do leather jackets tear easily?
If your leather jacket is made from quality leather, it shouldn’t tear easily. Known for durability, full-grain leather and top-grain leather jackets can last 10 to 20 years with proper care, or sometimes even longer. Cheaper bonded leather or genuine leather jackets, on the other hand, are more prone to tearing and tend to show signs of wear earlier than top-tier materials.
You can prevent leather tears by regularly applying leather conditioner to keep the material supple. If you notice a small tear, you may be able to mend it yourself with a leather repair kit that includes leather filler and a leather patch.
What’s the best way to attach patches to leather?
Patching leather jackets is a stylish way to personalize your outerwear, similar to patching jean jackets. To apply a leather patch securely, we recommend sewing with strong thread and a needle designed for leather. You can also make stitching easier by pre-punching holes with a seam ripper or a leather punch tool.
Not into stitching? Try a leather adhesive like contact cement or a glue made specifically for leather, such as Barge All-Purpose Cement. Apply a thin, even layer to the back of the patch, press it firmly onto the jacket, and let it dry fully per the glue’s instructions.
Pro tip: Adhesive methods are usually less durable than sewing. If you’re attaching the patch to an area on the leather jacket that frequently moves or stretches, stick with stitches.
What’s a good substitute for leather glue?
There are several alternatives to leather glue:
- Water-based contact cement: Products like Aquilim 315 offer a strong bond and are less toxic than traditional solvent-based adhesives.
- Polyvinyl acetate (PVA) glue: While it’s not as strong as leather-specific adhesives, PVA glue works for light-duty applications and cleans up easily.
- Double-sided adhesive tape: This tape is useful for temporarily holding pieces together before sewing, but it’s not meant for permanent bonds.
Always patch-test any adhesive on a small, inconspicuous area of your leather jacket first to ensure it doesn’t discolor or damage the materials.


Share on Social


Connect With Us


%2520(1).jpeg)


.jpg)
.jpg)

.jpg)